The Dirty Glove: Sink Edition
Ensuring our top-quality house cleaning services are thorough, efficient, and environmentally friendly is our top priority here at the Purple Fig. However, we understand that there are certain areas of the house that can be quite challenging to clean. That’s why we have dedicated this post to providing tips on how to effectively scrub those difficult-to-reach areas until they sparkle.
Every two months, we will guide you through specific instructions for each type of mess you may encounter (greasy stovetop? Moldy tub? Sticky sink?) and provide valuable tips throughout the process. So get ready to put on your gloves, because we are about to tackle the kitchen sink.
Tools you’ll need:
Spray bottle
Spray mix (a blend of water, vinegar, and lemon extract*)
Baking soda
Paper towels or cotton rags
Toothbrush tool
Gloves
Optional: lemon slice & salt
Understanding the Sink
Many people underestimate the filthiness of the kitchen sink. It’s constant contact with soap and water, however, does not eliminate the fact that- on an average day -it also acts as a dumping ground for unwashed dishware, silverware, and appliances! The sink is where you pour the rest of that unwanted coffee, where you scrape off those crusty lasagna crumbs, where you rinse that sticky liquid out of your kid’s water canteen…so by the end of the week, the bottom of your kitchen sink is transformed into a melting pot of leftover grime.
You don’t need to handle toxic chemicals in order to eat through that grime, though. Using hazardous cleaners like bleach and acids in order to clean and unclog drains may temporarily get rid of the grime, but in the long run these options expose a myriad of toxins to you and, once drained into open waters, to the environment.
General Prep (and Basic Grime)
No matter what material your sink is made out of, commonalities exist between where and how filth builds up. (**Note: if handling a copper sink, these steps may not apply. If necessary, use a very low vinegar ratio**) Here’s a simple and effective guideline to prepping your sink for a deep scrub:
1. First, take your spray bottle and fill it with water, vinegar, and lemon extract (*the extract is optional, but leaves a wonderful aroma). The ratio of water to vinegar depends on the state of the sink in question, but half and half is a good gauge. For a less vinegar-laden smell, make it a 3/1 water to vinegar ratio, and/or toss in a couple of squirts of extract.
2. Be sure the area is dry, and spray the sink, including its fixtures (faucet(s), sides, front and back) generously. Let it sit for a moment.
3. Take the toothbrush tool and scrape along the four sides of the sink, applying more or less pressure as needed. For trouble areas (usually the backside behind the faucet), spray it again and apply more toothbrush pressure.
4. Scrape along the edges of the fixtures, paying close attention to the faucet. Wipe away loosened grime as needed, and continue until no more grime comes off.
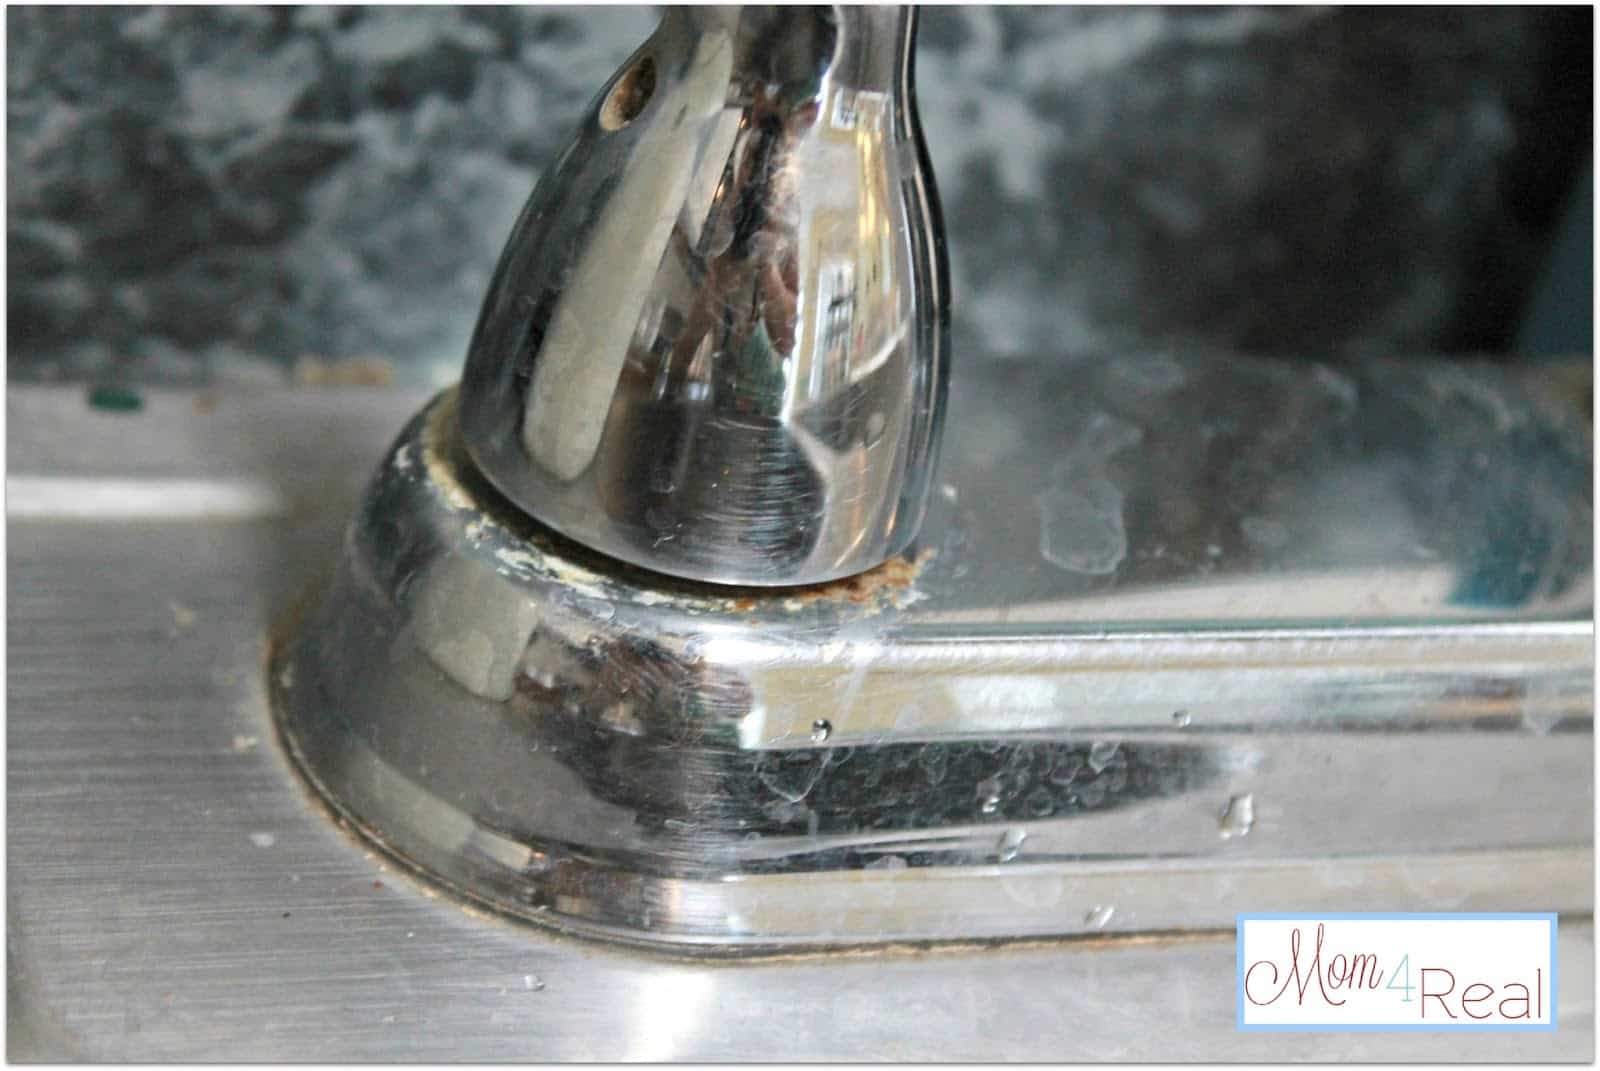
Watch for grime around faucets and fixtures
Taming the Sink Strainer
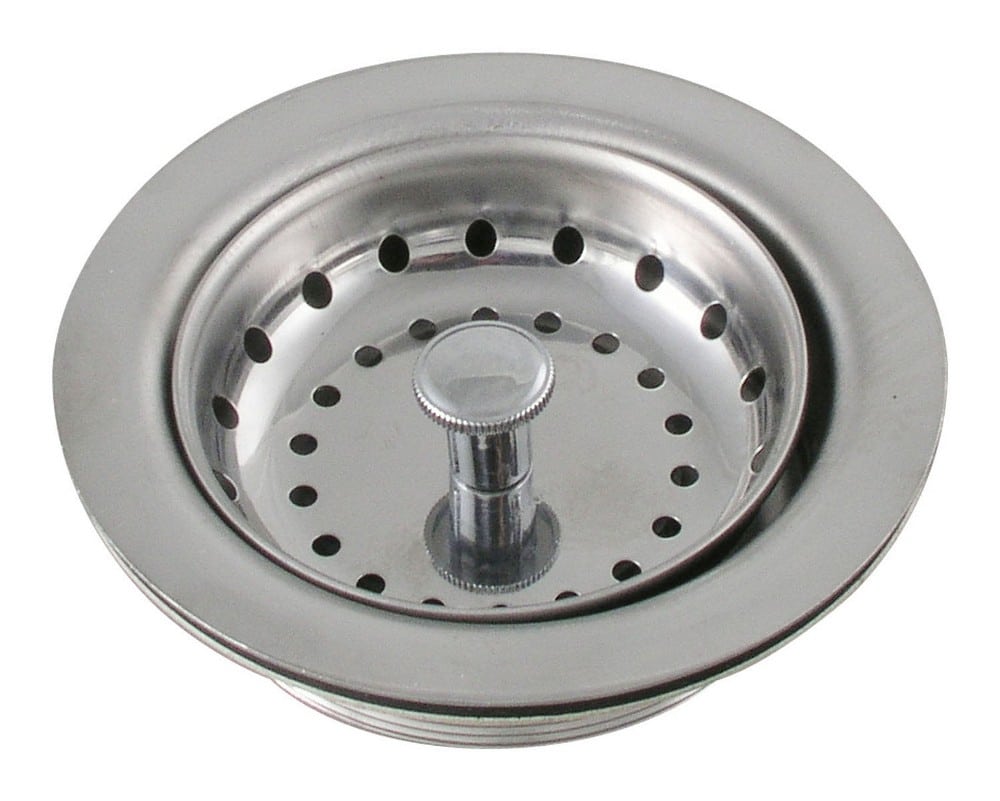 How long has it been since you’ve seen your strainer shine? Many (if not the majority) of households tend to neglect that little tool nestled inside the sink drain, letting months and years of food, soap scum, rust, and/or grime pile up without a second glance. And although it is a lovely thought, simply running hot water through it will not properly clean it!
The devil is in the details when it comes to the kitchen sink, so let’s dive into the appliance that sees the most action on any given day: the sink strainer.
- “My strainer isn’t too bad.”: Spray the strainer with the solution and wipe away with rag, using good old-fashioned elbow grease to dry. Pay special attention to the bottom of the strainer, watching for hidden mold or grime.
- “My strainer is pretty gross.”: Spray the strainer generously with the solution, letting it sit for a moment if desired. Take the rag and press down hard to wipe and dry, using elbow grease to handle the problem stains. If elbow grease isn’t cutting it, re-spray it and sprinkle some baking soda on it before washing it off. To restore shine, try scrubbing it with a lemon slice.
- “My strainer is AWFUL.”: Spray the strainer generously with solution, sprinkle some baking soda on it, and let it sit for a few minutes. Wash off the baking soda and wipe the strainer with the rag, being sure to press firmly and pay attention to its bottom. For stubborn filth, take a lemon slice and layer it in salt. Scrub the entire strainer and wash it thoroughly.
Tackling the Sink
Follow these eco-friendly DIY guidelines, and you’ll not only have a shiny sink, but a sweet-smelling kitchen! (**Note: if handling a copper sink, ignore these steps and keep scrolling**)
1. Remove anything inside of the sink, including the strainer. Spray the inside of the sink generously and coat the bottom in a layer of baking soda. Let it sit for a moment.
2. Give the sink a light wash and grab your toothbrush tool, scraping the drain rim. Press hard to loosen up deep-set grime. For a deeper scrub, use the toothbrush to scrape along the interior of the drain as well (where it meets the disposal flaps).
3. Spray the entire sink again. Still using the toothbrush, scrap along the top rims of all four interior walls, where the steel meets the countertop. This is where hidden grime accumulates within the crevice.
4. Wash out the sink thoroughly, then spray it lightly again. Take a clean, dry rag and wipe the sink dry, making sure to press firmly on spotty areas. To eliminate streaks, wipe the sink again with a completely dry rag.
For Stainless Steel: Persistence is Key
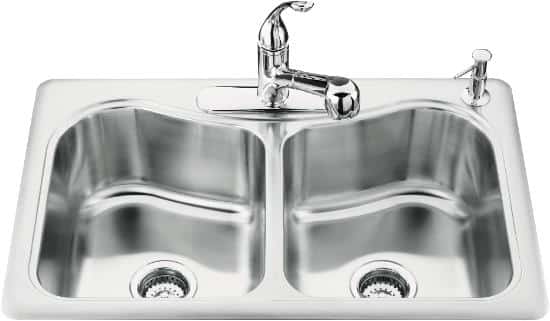 Stainless steel is the most common kitchen sink material due to its durability and ease of cleaning, but like any household appliance, it must be regularly maintained. Stainless steel is very sensitive to liquids and abrasive chemicals or tools (ex: toxic cleaners or steel wool brushes), so these should be avoided to prolong the life of your sink.
In order to evade those seemingly permanent water marks inside your sink, wipe it out after each use or every other use. The tap water that comes from your faucet is not pure or distilled, so salts and minerals manage to drip there way onto the stainless and cause cleaning headaches!
For the best finishing touch, wipe the sink with a small amount of solution, making sure to wipe with the grain, not against it.
For Porcelain Enamel: Avoid Those Stains
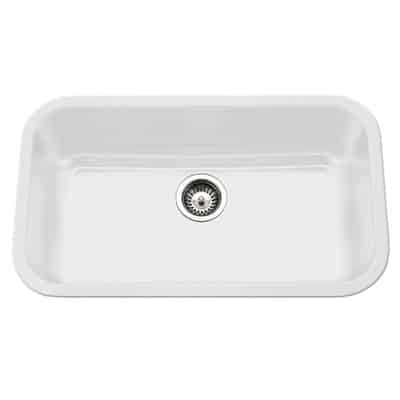 Usually paired with cast iron or fireclay, porcelain enamel is a hardy and scratch-resistant material that is common in many households. Although it comes in a variety of colors, white is the typical color of choice for many folks– resulting in unsightly stains that cannot be hidden by a darker material! Luckily, porcelain is a breezy surface to clean.
For set-in stains (i.e. coffee, brightly colored juice, etc.), clean the sink as instructed above. Afterwards, layer the base of the sink in a light coating of the solution and grab a lemon slice. Either sprinkle salt directly into the sink or on the lemon before scrubbing, pressing firmly on trouble areas.
Since the acidity of vinegar may have an effect on the porcelain enamel in heavy doses, remember to always wash out your porcelain sink with water after cleaning!
For Copper: Keep It Simple
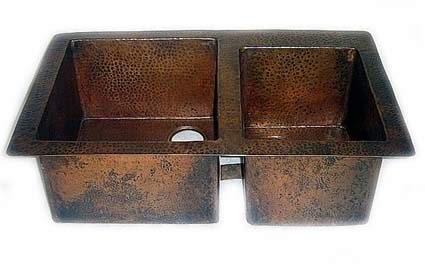 Copper is a rust resistant and anti-microbial material that can withstand a moderate amount of scratching. The nature of its material, however, calls for a more mild cleaning process that includes non-abrasive and chemical-free tools. Even acidic juices from oranges and lemons will stain this type of sink!
If using an eco-friendly solution to clean your copper sink, make the vinegar ratio lower than commonly recommended. Vinegar is an acidic liquid that could potentially discolor the copper over time. NEVER use lemons or salt to scrub the copper. Also, seeing green on your cleaning cloth is perfectly normal with copper sinks due to the patina.
It is recommended that you simply use water and a natural soap to gently wipe down the sink. To avoid those pesky water stains, you must dry out the sink after each use. If you’re considering buying a copper sink, be sure to study the quality of the manufacturer; a cheap sink can result in black discoloration!
Does Your Sink Stink?
Nobody likes a smelly sink, but with all of the wear and tear it endures from week to week, sometimes an odor is unavoidable! The smell is caused by build-up in your drain, and occasionally even in your pipes. Try out these methods and banish the stink!
- For heavy-duty odor & clog removal: Pour 1/2 cup of baking soda and 1 cup of pure white vinegar (optional: add juice from 1/2 a lemon) into the drain. Plug the drain for 10-15 minutes, allowing the gases to press the clog out. Wash it out afterwards with boiling water.
- For odor: Grind up a lemon peel or an orange peel in the disposal. This will not only release acidic juices that eat away at grime, but will give your kitchen a lovely aroma!
- Prevention: Remember to clean the sink after each use, especially when heavy food crumbs are involved.
- Check Homestructions list of other natural methods here!